How to Sleeve a Sewer Line?
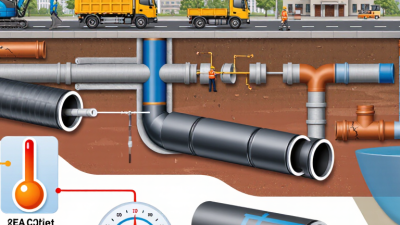
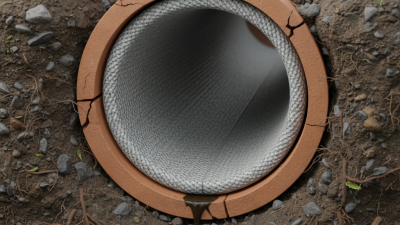
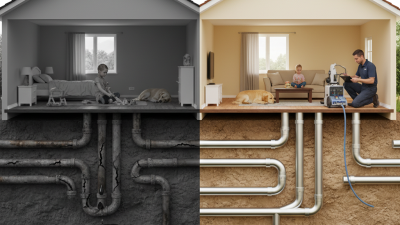
A cracked sewer pipe can stay out of sight until slow drains, recurring backups, or damp patches appear in the yard. In some cases, a sleeve sewer line repair can restore the pipe from inside, reducing the need to dig a long trench. The term often refers to cured-in-place pipe lining, though contractors may use different methods and names. Details matter.
The basic idea is to place a resin-saturated liner inside the damaged pipe and cure it so it forms a new inner surface. It sounds simple. The actual work depends on the pipe’s condition, material, diameter, bends, and access points. A camera inspection helps identify cracks, root intrusion, offsets, or a collapsed section; severe damage may rule out lining. Cleaning and preparation also matter, since debris can affect how the liner fits.
A qualified sewer contractor can explain whether lining suits the specific pipe and what the inspection found. Ask about the proposed method, curing process, expected service life, and any limits on connecting branch drains. Those details should be clear before work begins. Some older pipes have surprises. This guide explains how sewer pipe sleeving generally works, what preparation involves, and which questions help homeowners compare repair options. It is a practical overview, not a substitute for an on-site assessment; the right solution can vary from one property to the next.
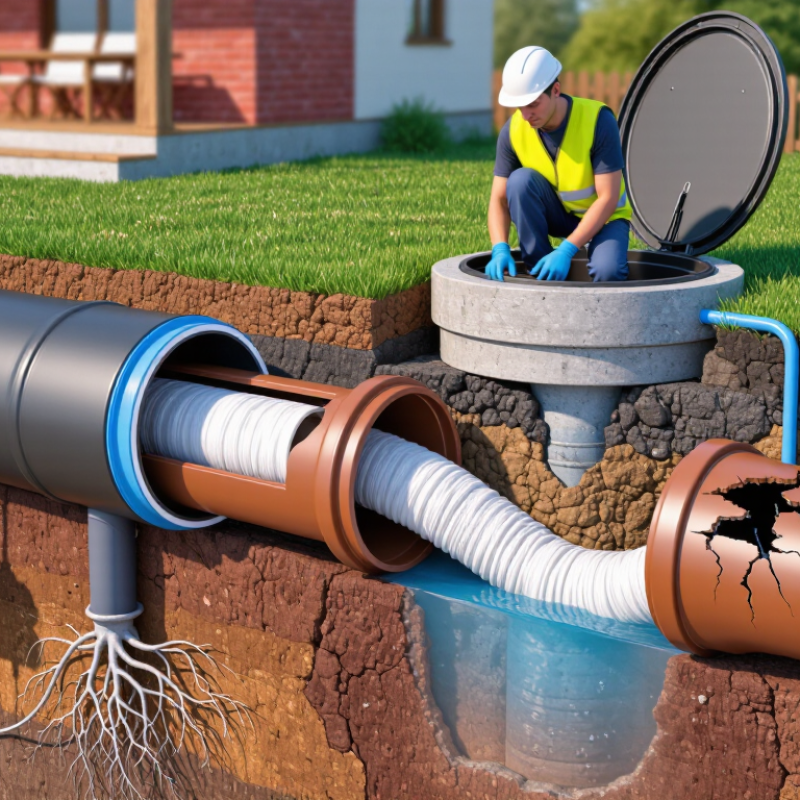
Assess the Sewer Line and Confirm It Can Be Sleeved
Before planning a sewer sleeve, establish what is happening inside the pipe. A camera inspection can reveal cracks, root intrusion, open joints, corrosion, and deposits. Record defect locations, pipe diameter, material, and route. Small details matter. A cleanout may provide access, but bends or offset joints can limit equipment movement.
The pipe must retain enough shape and space for liner installation. A sleeve may suit a cracked or leaking line that remains reasonably aligned. It may not work where the pipe has collapsed, severe deformation, a sharp offset, or a deep belly holding wastewater. These conditions can prevent the liner from passing or curing evenly. Cleaning is essential, too; grease, scale, and roots can hide damage or obstruct the sleeve. Compare camera images from before and after cleaning.
Confirm branch connections, transitions, and access points. The technician should explain how these features will be handled and whether measurements support the proposed liner. If the evidence is unclear, request another inspection or discuss a different repair method. That judgment is not always neat. Still, a careful pause can help avoid problems during installation.
Locate the Pipe and Prepare the Work Area
Before sleeving a sewer line, trace its route from a cleanout, building drain, or site plan.
Do not assume an old drawing is exact. A trained utility locator can mark buried services, while a push camera with a sonde can help identify the sewer’s direction and depth. Confirm those marks against visible access points. Private sewer laterals may not be included in public utility-locate requests, so check local procedures and arrange separate locating when needed.
EPA’s 2022 Clean Watersheds Needs Survey documented about $630 billion in wastewater and stormwater infrastructure needs over 20 years, underscoring why careful repair planning matters.
Once the route is confirmed, mark the work limits and keep the access path clear.
Move vehicles, stored materials, and trip hazards away from the excavation area. Check for overhead lines, nearby foundations, and water or gas services.
OSHA requires underground installations to be estimated before excavation and their exact locations determined safely as work approaches. Trenches four feet deep or more require safe access and egress; OSHA specifies that workers must travel no more than 25 feet laterally to reach it. Protective systems are generally required for excavations five feet deep or more, with specified exceptions. Keep spoil piles back from the edge.
It is tempting to rush past this setup. Don’t. A small locating error can turn a simple sleeve installation into a larger repair.
Clean the Sewer Line and Measure the Damaged Section
Before sleeving a sewer line, clean the pipe enough to expose its true condition. Remove grease, loose scale, roots, and debris using a method suited to the pipe material. Then inspect it with a sewer camera. A clean pipe can still hide a problem: standing water, cracks, or a shifting camera may obscure the damage.
Mark the damaged section’s start and end, and record its distance from a fixed access point. Note the pipe diameter, material, bends, and nearby connections. Camera distance counters are useful, but wheel slippage can distort readings; cross-check measurements from another access point when possible.
The U.S. EPA’s 2022 Clean Watersheds Needs Survey estimated $630 billion in clean-water infrastructure needs over 20 years. That national estimate is not a sleeve-sizing rule, but it shows the scale of aging infrastructure and why accurate inspection matters.
Tips
Clean, inspect, and measure twice. Photograph the defect and write down its position before lining. If water or debris still blocks the view, pause and reassess; a rushed measurement may leave the damaged edge outside the repair.
Insert and Position the Pipe Liner
Insert and Position the Pipe Liner
Before insertion, clean the sewer and inspect it with a CCTV camera. Record the pipe’s diameter, length, bends, and service connections. EPA’s 2022 Clean Watersheds Needs Survey identified about $630.1 billion in wastewater and stormwater infrastructure needs over 20 years. That figure is national, not a project estimate, but it shows why careful rehabilitation planning matters.
Measure the liner against the prepared pipe run, allowing for the system’s specified end details. For inversion or pull-in methods, guide the liner steadily through the access point. Avoid dragging it across sharp edges. Keep it aligned with the host pipe and watch for twisting, folds, or sudden changes in resistance. Slow down at bends. Rushing can create problems that are difficult to correct once curing begins.
Position both ends at the planned limits, using the project drawings and installation procedure as references. Confirm that service connections and laterals remain identifiable for reinstatement. Check the liner’s location before curing, and document it with camera footage where practical. Follow the engineered procedure for pressure, temperature, and cure time; these values vary by liner system and site conditions. Even experienced crews can miss a small wrinkle. I would pause and recheck rather than assume it will settle.
Cure the Liner and Inspect the Repaired Sewer Line
Curing determines whether a sewer liner bonds and hardens as intended. Follow the approved design and resin instructions for temperature, pressure, and cure time; do not rely on a timer alone. Record readings from the curing equipment and, where specified, temperature sensors along the pipe. A cold spot near a service connection can matter. So can an unnoticed pressure change. The details are easy to miss.
After curing, allow the liner to cool as specified before releasing pressure or trimming the ends. Then inspect the repaired section with closed-circuit television (CCTV). Look for wrinkles, gaps, resin washout, exposed host-pipe defects, and obstructed service connections. Compare the footage with pre-repair records, and document the location and condition of any concern. A smooth-looking opening is not proof of a sound repair; I would treat unclear footage as a reason to review the inspection, not to assume success. NASSCO’s Pipeline Assessment and Certification Program provides standardized methods for coding pipe observations, helping crews record findings consistently. The scale of the work is significant: the U.S. Environmental Protection Agency’s 2022 Clean Watersheds Needs Survey estimated $630.1 billion in wastewater, stormwater, and related pollution-control needs over 20 years. Careful inspection helps owners make repair records useful for future maintenance decisions.