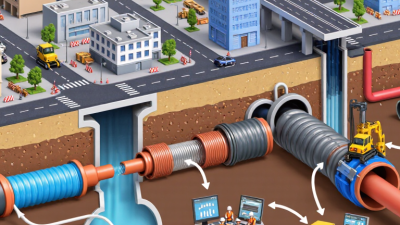
7 No Dig Pipe Repair Tips for Global Buyers
For global buyers, no dig pipe repair is more than a way to avoid excavation. It is a decision about risk, access, materials, workmanship, and long-term service. A successful project may begin with a small CCTV camera entering a pipe, then continue with cleaning, measurement, resin selection, and controlled curing. The details matter.
Dr. Mohammed Najafi, a recognized trenchless technology researcher, emphasizes, “Every project is different, and the right method depends on site conditions.” This principle should guide every purchase. A supplier may recommend pipe lining, pipe bursting, robotic cutting, or localized sealing. The best option depends on pipe diameter, damage type, groundwater, soil movement, and available access points.
Look beyond the brochure.
Global buyers should examine inspection records, installation procedures, resin data, curing methods, installer training, and warranty conditions. Ask whether the supplier can provide references from similar climates and pipe systems. Also confirm how quality is verified after installation. CCTV footage, pressure testing, thickness checks, and written reports can reveal problems that a polished sales presentation hides.
Price still matters. It should not stand alone. A cheap repair can create repeated blockages, leakage, or premature failure. That means higher costs later. A thoughtful evaluation also considers shipping time, local technical support, spare equipment, and communication across languages and time zones.
No dig pipe repair is not risk-free. Sometimes, a trenchless method is unsuitable. That uncomfortable possibility deserves honest discussion. This guide introduces seven practical tips to help buyers compare suppliers, question technical claims, and choose a repair plan with clearer evidence and fewer surprises.
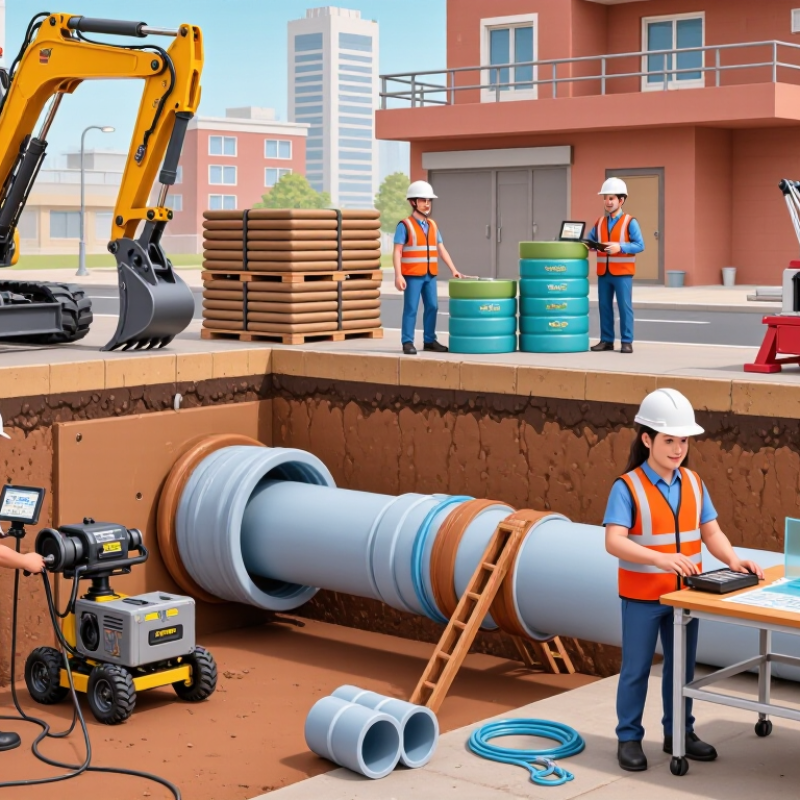
Assess Pipe Damage Before Choosing a No-Dig Repair Method
7 No Dig Pipe Repair Tips for Global Buyers
Assess Pipe Damage Before Choosing a No-Dig Repair Method
A no-dig solution begins with evidence, not a product brochure. Inspect the pipe with CCTV, sonar, or laser profiling. Record cracks, corrosion, joint displacement, ovality, and standing water. A camera can miss hidden voids.
Use seven checks. First, confirm pipe material and diameter. Second, map the defect’s exact location. Third, measure structural deformation. Fourth, test flow and infiltration. Fifth, check groundwater pressure. Sixth, identify service connections. Seventh, compare repair life with the asset owner’s requirements.
Structural damage needs a different response from a leaking joint. Local cracks may suit robotic sealing or short liners. Continuous corrosion may require a cured-in-place liner. Severe collapse can limit no-dig options. Do not force one method onto every failure.
The U.S. Environmental Protection Agency’s 2022 Clean Watersheds Needs Survey estimated 630.1 billion dollars in wastewater infrastructure needs over twenty years. The American Society of Civil Engineers rated U.S. wastewater infrastructure D+ in its 2021 report card. These figures show why early assessment matters. Poor diagnosis can turn a planned repair into repeated disruption.
Ask suppliers for independent test results, installation tolerances, and rehabilitation design calculations. Check whether the proposed method handles the measured loads. Review temperature, resin cure, ventilation, and worker safety requirements. Global projects also need local standards and qualified inspectors. Photographs help, but calibrated measurements are stronger. Even experienced teams can overlook ovality. That mistake is worth challenging.
Match the Repair Technology to Pipe Material, Size, and Site Conditions
Start with a verified condition survey, not a product catalogue. CCTV inspection should record cracks, deformation, joint gaps, blockages, and service connections. Measure internal diameter at several points. One measurement can mislead.
Match the method to the pipe material. Resin liners can suit many concrete, clay, and metal pipelines, but surface preparation affects adhesion. Flexible plastic pipes may need a different design approach. Check temperature, chemical exposure, groundwater pressure, and expected flow before selecting materials. Ask for tested compatibility data, not general promises.
Size controls installation risk. Small pipes may require inversion or pull-in systems. Larger pipelines may need sectional liners, sliplining, or carefully designed structural inserts. Confirm bends, manholes, access distance, and lateral connections. Site conditions matter just as much. Narrow streets may favor compact equipment. Deep groundwater can require temporary flow control and sealing measures. Heavy traffic may limit working hours.
Request a method statement, design calculations, curing records, and inspection results. Experienced contractors should explain how they manage wrinkles, resin loss, pipe movement, and failed reinstatements. Ask who performs acceptance testing. Independent verification is valuable.
I have seen technically suitable repairs perform poorly because crews underestimated cleaning time. That detail is easy to miss during procurement. Compare lifecycle cost, downtime, carbon impact, warranty terms, and future access. A low purchase price may conceal difficult preparation or repeated maintenance.
Verify Product Standards, Supplier Capability, and Export Documentation
7 No Dig Pipe Repair Tips for Global Buyers
No-dig repair starts with the correct standard, not the lowest quotation. Tip 1: Ask which standard governs the liner, resin, curing method, and pressure rating. Requirements can differ by country and pipe use. Tip 2: Request current test reports from an independent laboratory. Check the tested thickness, chemical resistance, tensile strength, and service temperature. Tip 3: Compare the report with the supplied product. A certificate for another formulation is not enough. Measure sample thickness at several points. Small differences matter.
Tip 4: Verify the supplier’s production capability before placing a large order. Review equipment lists, quality-control records, batch coding, and inspection procedures. Ask for recent project references, but confirm them independently. Tip 5: Request a sample kit, installation guide, and curing schedule. A supplier may understand manufacturing yet provide weak installation support. That gap can cause wrinkles, leaks, or delays. I have seen buyers focus heavily on price and overlook technical training. That decision often becomes expensive.
Tip 6: Build an export document checklist early. It should cover the commercial invoice, packing list, certificate of origin, HS code, transport details, and product test certificates. Confirm whether your country requires additional declarations. Tip 7: Ensure every document uses matching product names, quantities, batch numbers, and weights. Customs delays often begin with small inconsistencies. Ask the supplier to share draft documents before shipment. Recheck them with a customs professional. It may feel excessive, but one missing page can stop a container.
No-Dig Pipe Repair Buyer Verification Checklist
A practical comparison of the evidence buyers commonly review before purchasing no-dig pipe repair products: product standards, supplier capability, and export documentation.
The checklist covers technical compliance, manufacturing readiness, and shipment documentation. Buyers should confirm the exact requirements for the destination market, pipe material, repair method, and contract.
Plan Installation, Safety Measures, and Minimal Site Disruption
7 No Dig Pipe Repair Tips for Global Buyers
Plan the installation around actual site conditions, not brochure assumptions. Request pipe records, CCTV footage, soil data, and access measurements before selecting a repair method. Confirm pipe diameter, material, flow rate, and damage length with qualified engineers. Local permits and utility maps also matter. They vary by region. A narrow road may need night work, traffic control, and carefully timed deliveries. Leave space for equipment, resin handling, ventilation, and emergency access. I have learned that small access errors can delay an otherwise simple project.
Tip 1: Build a site-specific installation plan. Mark entry and exit points, isolation valves, bypass lines, and safe pedestrian routes. Schedule inspections before, during, and after installation. Keep records with photographs and measured results. A perfect plan is rare. Review it after each site visit.
Safety measures should cover workers, residents, and nearby utilities. Use trained personnel for confined spaces, electrical equipment, and chemical handling. Check ventilation and atmospheric conditions where required. Follow local occupational safety rules and product instructions. Prepare barriers, warning signs, spill controls, and a clear rescue procedure. Do not rely on experience alone; conditions can change quickly after rain or excavation.
Tip 2: Reduce disruption through accurate preparation. No-dig work can limit excavation, but it still creates noise, traffic changes, and temporary service limits. Inform affected occupants early, protect driveways, and restore access at agreed times. Select low-impact equipment where practical. Monitor vibration and surface movement near older buildings. If the first method fails, stop safely and reassess instead of forcing completion. That decision may save time, materials, and public trust.
| Tip | Repair Approach | Best-Fit Conditions | Typical Access Requirement | Indicative Installation Time | Site Disruption Level | Key Safety and Planning Measures | Main Limitation |
|---|---|---|---|---|---|---|---|
| 1 | Cured-in-place pipe lining | Cracks, leaks, corrosion, and structurally weakened pipes with a continuous internal bore. | Usually through existing manholes or access chambers; the liner must be matched to the pipe diameter and route length. | About 1–3 working days for a prepared short-to-medium section, including curing and inspection. | Low | Complete CCTV inspection, clean the pipe, bypass or control flow, verify resin handling procedures, and confirm curing conditions. | Severely collapsed, heavily offset, or badly deformed sections may require excavation or pre-rehabilitation. |
| 2 | Pipe bursting | Replacement of brittle or undersized pipes where a new pipe can follow the existing alignment. | Launching and receiving pits are normally required, although existing chambers may sometimes be adapted. | Often 1–3 days for a straightforward residential or utility section, excluding preparation and reinstatement. | Low to medium | Locate existing utilities, check soil and groundwater conditions, calculate pulling or bursting forces, and secure the work zone. | Not suitable where nearby utilities cannot tolerate ground movement or where the alignment has sharp bends. |
| 3 | Slip lining | Long, relatively straight pipelines with adequate space for insertion of a smaller carrier pipe. | Access pits or chambers are needed for insertion, jointing, and connection of the new pipe. | Approximately 2–5 days for a moderate-length section, depending on pipe length, diameter, and jointing method. | Low to medium | Measure the host pipe accurately, allow for reduced internal diameter, control lifting operations, and seal annular space where required. | The finished flow area is reduced, and tight bends or major deformation can prevent installation. |
| 4 | Fold-and-form lining | Continuous rehabilitation of sound-to-moderately damaged pipes where reduced access and limited excavation are priorities. | Small access points or existing manholes are commonly sufficient, subject to liner dimensions and equipment clearance. | Typically 1–2 working days for a short section, plus cooling, testing, and reconnection work. | Very low | Confirm pipe geometry, control heat or steam equipment, provide ventilation, and restrict access during installation and cooling. | It may not correct significant external voids, severe ground instability, or large missing sections of host pipe. |
| 5 | Localized point repair | One or a few isolated defects such as joints, cracks, root intrusion points, or small holes. | Usually through a nearby manhole or cleanout using remote tools or a short repair sleeve. | Often completed within several hours to 1 working day after cleaning and defect confirmation. | Minimal | Identify the exact defect location, remove obstructions, verify the repair position by CCTV, and test the section before reopening service. | Multiple defects over a long length may make a full-length lining more economical and reliable. |
| 6 | Spray-applied internal coating | Corrosion control and sealing of suitable water, wastewater, or industrial pipelines with a stable host surface. | Access depends on pipe diameter; larger internal diameters are generally needed for safe equipment operation and inspection. | Approximately 1–4 days, including surface preparation, application, curing, and quality checks. | Low | Prepare and dry the substrate, control ventilation, follow coating exposure limits, measure thickness, and confirm potable-water suitability where relevant. | Coatings generally do not replace a structurally failed host pipe and require thorough surface preparation. |
| 7 | Robotic cutting and sealing | Removal of intruding laterals, concrete, roots, deposits, or localized obstructions before sealing or lining. | Typically requires a manhole or access chamber large enough for remote equipment and CCTV control. | Commonly several hours to 2 working days, depending on obstruction type and the number of locations. | Minimal | Use isolation and flow control, confirm remote equipment limits, manage debris, inspect the finished surface, and maintain exclusion zones around access points. | Robotic work is corrective preparation or localized repair; it is not a substitute for full structural rehabilitation. |
| Buyer planning note: The time, access, and disruption figures are indicative planning ranges rather than guarantees. Final selection should be based on CCTV records, pipe material and diameter, defect severity, groundwater, soil conditions, flow requirements, local regulations, traffic controls, and post-repair testing. | |||||||
Inspect the Completed Repair and Support Long-Term Pipe Performance
Inspecting a completed no-dig pipe repair is more than checking whether the road surface looks neat. A reliable inspection confirms structural performance, flow capacity, and sealing quality. Reviewers should compare the final repair with the original survey, including pipe diameter, defect location, and selected repair method. Video inspection can reveal wrinkles, gaps, resin movement, or incomplete bonding. A smooth appearance is not proof of a durable repair.
Repair inspection tip: check every joint, end seal, and transition area under suitable lighting. Measure internal diameter where possible, and record water flow before and after the repair. Small differences may expose alignment problems. Keep clear photographs, inspection dates, material details, and test results in one project file. This evidence supports warranty discussions and future maintenance planning. It also helps global buyers verify whether the contractor followed the agreed technical procedure.
Long-term performance depends on conditions after installation. Monitor pressure changes, unusual odors, recurring blockages, and wet ground near access points. Schedule follow-up inspections based on pipe age, service load, and local soil movement. Do not rely on assumptions. Field conditions can change, and even a well-installed repair may need adjustment. One practical improvement is to review the first inspection report with maintenance staff, because overlooked warning signs often appear during routine operation.
Related Posts
-
China Top 10 Digless Pipe Repair Companies to Trust
-
10 Best No Dig Pipe Repair Solutions for Efficient Plumbing Repairs?
-
Why Choose No Dig Sewer Repair for Global Projects?
-
Top Tips for Pipe Repair Without Digging You Need to Know
-
Creative Options for Sewer Repair Without Digging Methods You Should Consider
-
How to Successfully Perform No Dig Pipe Repair for Lasting Results