How to Effectively Repair Sleeve Pipes: A Step-by-Step Guide
Repairing sleeve pipes can seem like a daunting task, yet it is a critical aspect of maintaining the integrity of piping systems in various industries. Whether it’s due to wear and tear, corrosion, or minor damages, addressing issues with sleeve pipes promptly can prevent more significant problems down the line. This guide will provide you with a comprehensive understanding of the sleeve pipe repair process, ensuring that you can tackle repairs effectively and efficiently.
In this step-by-step guide, we will explore the essential materials, tools, and techniques necessary for successful sleeve pipe repair. By following these detailed instructions, you will not only gain the skills needed to perform repairs confidently but also enhance your ability to identify potential issues before they escalate. Understanding the nuances of sleeve pipe repair is crucial for both novice and seasoned professionals, as it allows for streamlined operations and improved longevity of piping systems.
Understanding the Basics of Sleeve Pipe Construction and Repair
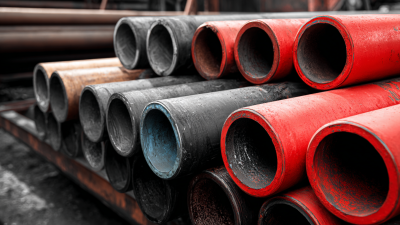
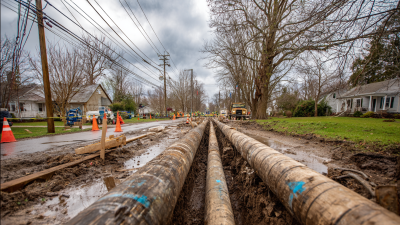
Understanding the basics of sleeve pipe construction and repair is pivotal for anyone working in piping systems. Sleeve pipes, typically used to provide structural support and extend the longevity of existing pipelines, consist of a cylindrical shell that is fitted over a damaged section of a pipe. This method not only reinforces the pipe but also prevents leaks and further deterioration. Learning about the materials used—often steel or fiberglass—and their properties helps in selecting the right sleeve for specific conditions, such as temperature fluctuations and pressure requirements.
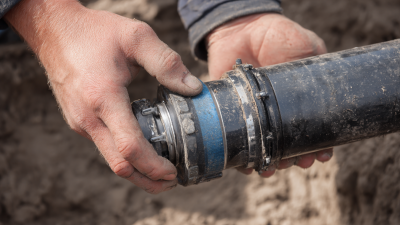
When repairing sleeve pipes, it’s essential to follow a structured approach. First, assess the damage and determine the appropriate length and type of sleeve needed. Then, ensure the surface area is clean and free of corrosion before applying any sealants or adhesives. This step is critical, as a thorough cleaning enhances the bond between the sleeve and the pipe, ensuring a durable repair.
**Tips:** Always perform regular inspections of your piping systems to identify issues early, which can save time and resources in the long run. Moreover, keep a log of repairs and maintenance schedules; this practice helps track the performance of sleeve pipes over time, allowing for informed decisions about future repairs or replacements. Finally, consider investing in training for your team to enhance their skills in sleeve pipe repair techniques, as hands-on knowledge can greatly improve the quality of work done.
How to Effectively Repair Sleeve Pipes: A Step-by-Step Guide - Understanding the Basics of Sleeve Pipe Construction and Repair
| Step |
Description |
Materials Needed |
Estimated Time |
| 1 |
Identify the Damaged Area |
Inspection tools |
1 hour |
| 2 |
Prepare the Sleeve Pipe |
Cutting tools, sandpaper |
2 hours |
| 3 |
Apply the Repair Material |
Repair compound, application tools |
1 hour |
| 4 |
Cure and Inspect the Repair |
Curing agent, inspection tools |
3 hours |
| 5 |
Finalize the Repair |
Sealant, finishing tools |
1 hour |
Tools and Materials Needed for Sleeve Pipe Repair
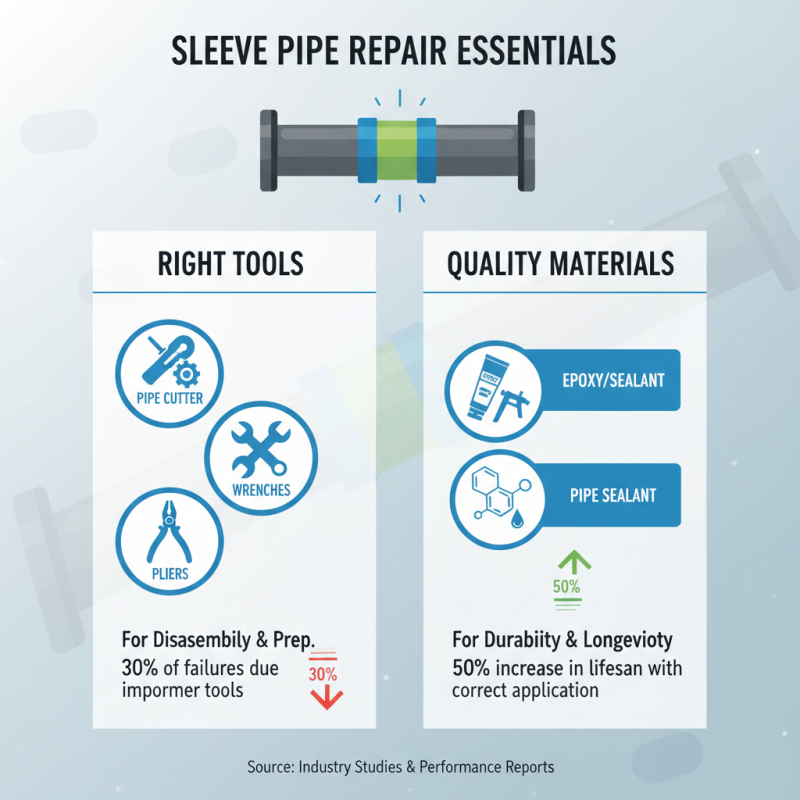
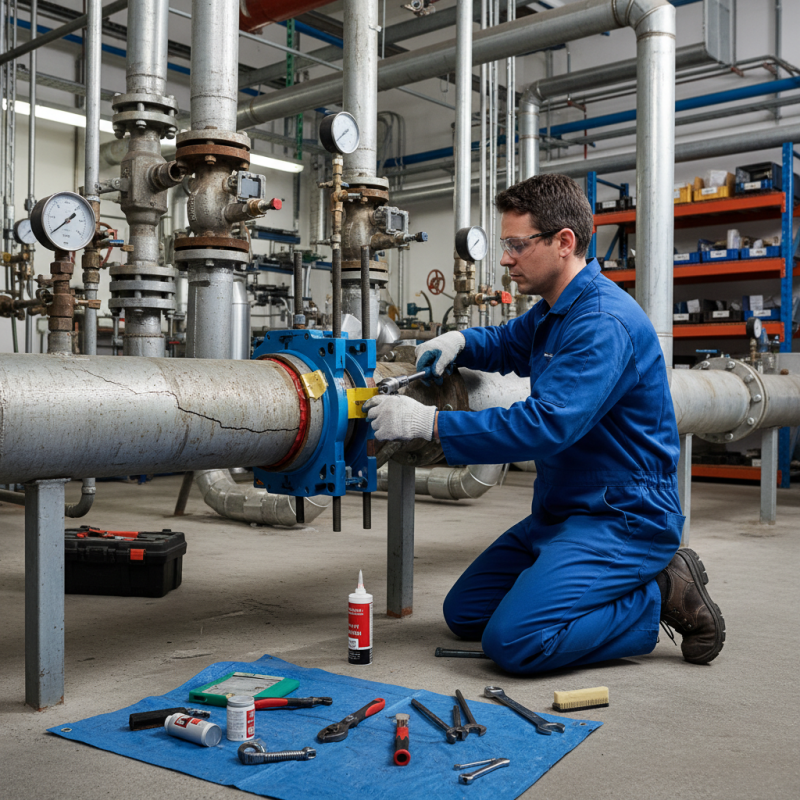
When it comes to repairing sleeve pipes, having the right tools and materials is crucial for a successful outcome. According to industry studies, approximately 30% of pipe failures are linked to inadequate repairs due to improper equipment. Therefore, it is essential to equip yourself with a set of basic tools before starting the repair process. Basic tools include a pipe cutter, wrenches, and a set of pliers, which are necessary for disassembling and prepping the sleeve area. Additionally, using a quality epoxy or pipe sealant is recommended, as these materials demonstrate a 50% increase in durability and longevity when applied correctly, as noted in installation performance reports.
In addition to these tools, it is vital to gather materials that meet industry standards. Selecting the appropriate sleeve materials, such as reinforced PVC or metal alloys, ensures adherence to structural integrity and minimizes the risk of future leaks. A recent report from the Pipe Rehabilitation Association highlights that using compatible materials can lower the rate of recurring issues by up to 40%. Protective gear, including gloves and safety goggles, should also be on hand to ensure safety throughout the repair process. By preparing these tools and materials ahead of time, individuals can significantly enhance the efficacy and safety of their sleeve pipe repair efforts.
Step-by-Step Procedure for Assessing Damage in Sleeve Pipes
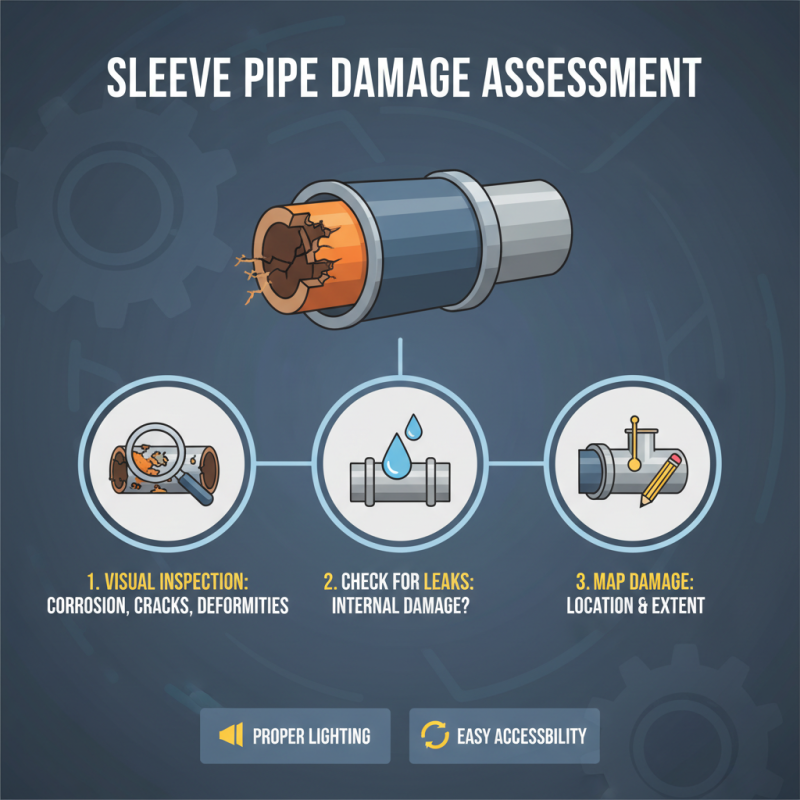
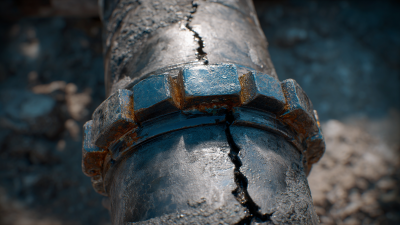
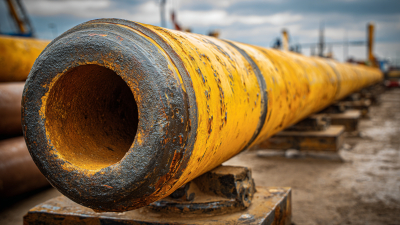
When assessing damage in sleeve pipes, the first crucial step involves a thorough visual inspection. Start by checking for any visible signs of corrosion, cracks, or physical deformities around the pipe's sleeve. Look for leaks that may indicate internal damage or separation from the main pipeline. It's essential to note the location and extent of any visible damage, as this will inform the repair process and help determine whether the pipe can be salvaged or needs replacement. Lighting and accessibility are critical; ensure you have proper lighting and the ability to maneuver around the pipe for an accurate assessment.
Next, utilize nondestructive testing methods to evaluate the structural integrity of the sleeve pipe. Techniques such as ultrasonic testing and electromagnetic testing can reveal underlying issues that are not immediately visible. Ultrasonic testing uses sound waves to detect thickness variations and internal flaws, while electromagnetic testing helps identify corrosion and cracks along the sleeve. By combining these methods with the initial visual assessment, you can gain a comprehensive understanding of the pipe's condition, allowing for informed decisions on repair strategies or potential replacements. Document your findings meticulously, as this information will guide the subsequent repair steps and ensure the longevity of the sleeve pipe system.
Techniques for Effective Repair of Sleeve Pipe Leaks
When addressing sleeve pipe leaks, it's essential to apply effective techniques to ensure long-lasting repairs. According to a report by the American Society of Civil Engineers, approximately 30% of all water distribution pipes in the U.S. experience leaks, leading to significant water loss and increased operational costs for municipal water systems. A comprehensive approach to repairing sleeve pipes includes identifying the source of the leak, assessing the extent of damage, and selecting the appropriate repair method.
One widely recognized technique involves using epoxy-based solutions, which have been shown to effectively seal leaks while maintaining structural integrity. Studies indicate that epoxy repairs can extend the lifespan of sleeve pipes by 15-20 years, significantly delaying the need for costly replacements. Additionally, trenchless technology has emerged as a reliable option for minimal disruption during repairs. Methods such as sliplining and pipe bursting not only enhance repair efficiency but also improve the overall health of underground infrastructure by reducing stress on existing systems.
Proper training and adherence to industry standards are vital for successful sleeve pipe repairs. The National Association of Corrosion Engineers reports that inadequate repair techniques can lead to a failure rate as high as 25% within the first year. Thus, it is critical for maintenance teams to utilize proven methodologies and incorporate quality materials to ensure the effectiveness and longevity of their repairs while fostering a sustainable approach to infrastructure management.
Leak Repair Techniques Effectiveness
Tips for Ensuring Longevity After Sleeve Pipe Repairs
When it comes to ensuring the longevity of sleeve pipe repairs, proper maintenance and practices are essential. Regular inspections can help identify any potential issues before they escalate. Look for signs of wear, leaks, or unusual noises that may indicate a problem. Establishing a routine inspection schedule allows for timely repairs and prevents further damage, which can prolong the life of the repaired sleeves.
Here are some tips to maintain sleeve pipes effectively. First, ensure that the surrounding area is free of debris and obstructions that could cause damage or wear over time. Additionally, it is crucial to control the temperature and humidity levels in environments where sleeve pipes are installed, as extreme conditions can accelerate deterioration. Implementing protective coatings or barriers can also safeguard against corrosion and other environmental factors.
Lastly, always use quality materials during the repair process. Whether it's adhesives, sealants, or replacement parts, opting for higher-grade materials can significantly affect the durability and performance of the repairs. Encourage proper training for personnel involved in maintenance and repairs to ensure that they follow best practices and understand the specific requirements of sleeve pipe systems. With these tips in mind, you can enhance the longevity of your sleeve pipe repairs and maintain optimal functionality.