
How to Choose the Right Elevator Guide Rail Bracket?
Choosing an Elevator Guide Rail Bracket is not a cosmetic decision. It affects how securely the guide rail stays aligned under operating loads, vibration, and repeated movement. The right choice depends on the elevator system, rail profile, bracket spacing, fixing surface, and specified loads. A bracket that looks substantial on a warehouse shelf may still be unsuitable for a particular installation. Small details matter: hole position, steel thickness, weld quality, and the condition of the concrete or structural steel behind each fixing point.
This guide explains how to compare bracket types, check compatibility, and review installation requirements before ordering. It also covers common mistakes, including relying on appearance alone or overlooking the building substrate. Measure carefully. Confirm the drawings. Ask the manufacturer when specifications are unclear. Those steps sound ordinary, but they can prevent costly rework.
A verified expert name and quotation were not provided, so this introduction does not invent an attribution. Instead, it uses a practical engineering principle: “Match the bracket to the rail, load, and supporting structure—not just to its dimensions.” Treat that as guidance for this article, not a sourced expert quotation. Real projects still need qualified review against their approved design and applicable manufacturer instructions. There is no universal bracket. Even a well-made part can fail its purpose when the surrounding details are wrong.
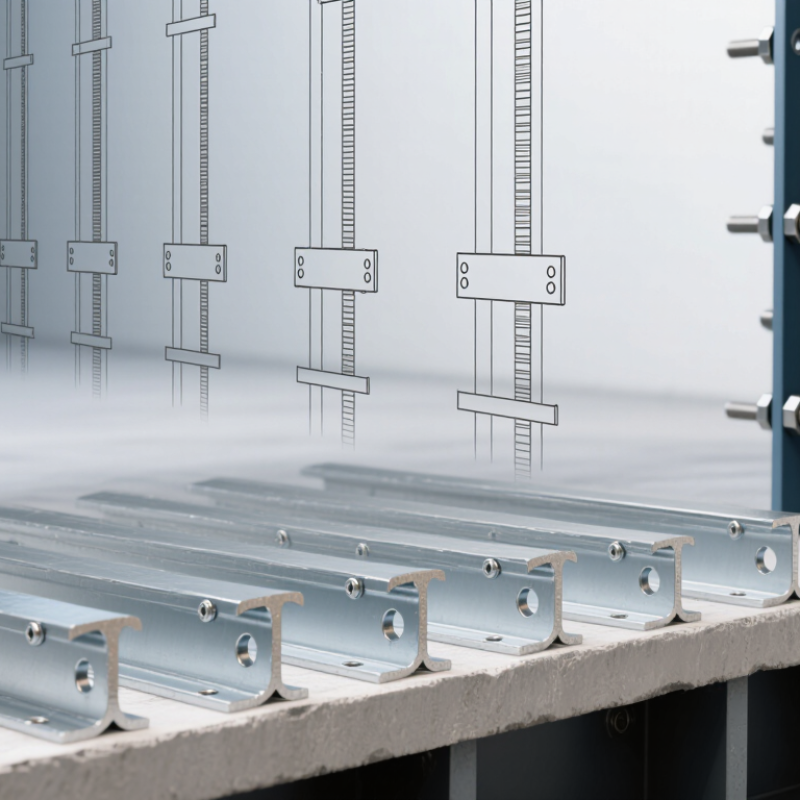
Understand the Function of an Elevator Guide Rail Bracket
An elevator guide rail bracket connects the guide rail to the building structure. It keeps the rail in position so the elevator car and counterweight can travel along a controlled path. As the elevator moves, the rails help guide the equipment and resist sideways movement. Brackets transfer some of these forces to the supporting structure; they do not carry the car’s full weight. That distinction matters.
The bracket must suit the rail profile, expected loads, mounting surface, and specified spacing. Its adjustment range also matters. Installers use it to align the rail, but adjustment cannot compensate for a weak support or unsuitable fasteners. Not just metal. A bracket is part of a load path, so its connection to the structure deserves the same attention as its fit around the rail.
One easy detail to overlook is how uneven surfaces affect alignment. A poorly seated bracket may contribute to rail movement, vibration, or extra wear over time. Check project drawings and technical specifications for bracket type, spacing, and fastening requirements. The right choice depends on the complete installation, not appearance alone. Even a neat-looking connection needs verification against the elevator design.
How to Choose the Right Elevator Guide Rail Bracket? - Understand the Function of an Elevator Guide Rail Bracket
| Selection factor | What to verify | Function and importance | Practical selection check |
|---|---|---|---|
| Guide rail compatibility | Rail profile, dimensions, fastening arrangement, and bracket contact points | The bracket secures the guide rail to the building structure and helps keep the rail in its intended position. | Compare the bracket drawing and rail dimensions with the elevator design documents; do not assume different rail profiles are interchangeable. |
| Loads and design requirements | Specified forces, support reactions, safety factors, and applicable elevator code or project requirements | Brackets and their connections transfer guide-rail forces to the supporting structure. Required capacity depends on the complete elevator design. | Use project calculations and approved component data. There is no single load rating suitable for every elevator installation. |
| Bracket spacing | Specified distance between rail supports and any limits stated for the rail and bracket system | Support spacing affects rail stiffness, alignment, and the forces carried by each support. | Follow the approved layout and manufacturer’s engineering data; spacing must not be selected by appearance alone. |
| Building substrate | Concrete, structural steel, or another approved support; substrate condition and anchor or weld details | A bracket is only as reliable as its attachment to the building. Anchors and welds transfer loads from the bracket into the structure. | Confirm that the substrate, anchors, edge distances, embedment, and installation method match the approved structural design. |
| Adjustment and alignment | Permitted adjustment range, slot direction, and access for rail alignment during installation | Adjustment features can help installers position rails accurately before final tightening or fixing. | Choose an arrangement that supports the specified alignment procedure and can be securely fixed after adjustment. |
| Material and corrosion protection | Bracket material, coating or finish, and exposure to moisture or corrosive conditions | Suitable materials and protective finishes help limit corrosion and preserve the bracket and connection over time. | Select the finish for the installation environment and check compatibility with the rail, fasteners, and structural support. |
| Installation access and clearance | Shaft clearances, fixing access, nearby components, and required working space | The bracket must fit within the shaft arrangement without interfering with the car, counterweight, or other elevator equipment. | Check coordinated shaft drawings and confirm that fasteners can be installed and inspected safely. |
| Inspection and maintenance | Visibility of fasteners, access for inspection, and any project maintenance requirements | Accessible connections make it easier to check for looseness, damage, corrosion, or changes that could affect the rail support. | Avoid layouts that conceal critical connections where practical; follow the elevator maintenance and inspection plan. |
Selection note: Confirm bracket type, capacity, spacing, attachments, and installation details against the approved elevator and structural design. Requirements vary by elevator, rail system, building, and applicable regulations.